Sanding Pads That Stick to Pottery Wheel Bats
Sanding Discs for Pottery Wheels
Among the most practical pottery wheel accessories are the diamond abrasive discs that stick to the bat and are used to smooth the bases of your pottery pieces.
Wobbly pots? Glaze drips? Marks from kiln shelves? If you work with a pottery wheel, there’s a quick and clean way to make those clay bases perfectly smooth: diamond sanding discs that stick directly to your wheel bat. Simply attach the disc to the wheel bat, place your pot on it, and at a low or medium-low speed, use the rotation to smooth bases, remove small glaze overflows, or gently grind away marks in a controlled way.
What are these diamond discs and how do you use them?
They are round discs made of industrial diamond grit. They sand very quickly and last much longer than traditional sandpaper. Each one comes with an adhesive backing, so they can easily stick to almost any surface: plastic bats, wooden boards, plaster slabs, MDF panels, etc. Picture of the adhesive backing:

Tip: If you use interchangeable bats, keep one dedicated just for the sanding disc.
A good trick is to center the abrasive disc on the wheel bat first, then mark around it with a pencil so you’ll always know exactly where to stick it back on:

Tip 2: Another option is not to stick the discs to the bats at all. Instead, use a special cloth for the wheel: simply place the diamond disc on top of the damp cloth, and that’s it. No need to glue it, and you don’t even need bats in that case. Like this:
What Are These Sanding Discs Used For?
- To smooth the bases after if there are still small wobbles.
- To remove glaze drips or bumps after the high-temperature glaze firing.
- To gently touch up marks or clean small spots without removing too much material.
Note: You can start with a coarse-grit diamond disc for rough sanding and, if you want a finer surface, finish with a polishing disc.
How to Use Diamond Sanding Discs
- If you’re working dry, it’s best to wear a P2/P3 mask. However, it’s even better to dampen or mist the surface with water to minimize dust.

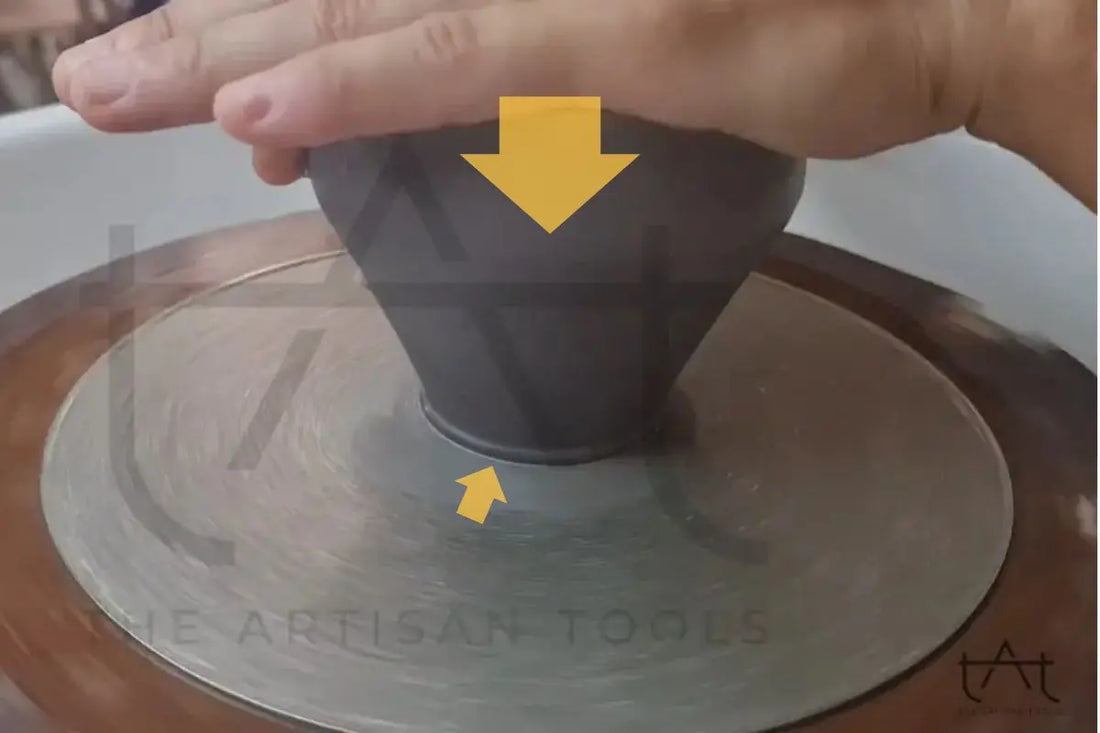
- Wheel speed: Keep it at low to medium speed. You can adjust it later naturally as you work.
- Hold the piece firmly against the disc: Place the flat base of the pot directly on the disc. Use light pressure; let the diamond do the work for you.

- Check frequently: Stop, clean, and inspect the finish. Repeat if needed. You can also test the stability by placing the piece on a table or flat surface:
